

We have seen it all. However, the number one mistake we see is when writers don't bother to learn the basics. Don't be that guy! Also, if you are envisioning a book from your childhood or—worse yet—haven't visited the children's section of a bookstore in the last five years, you need to brush up on the basics.
Storybook vs. Picture Book
“Children's book” is a very large, overarching term that technically includes a LOT of different types of books for a variety of ages, but odds are, the type of book you're thinking of is a picture book.
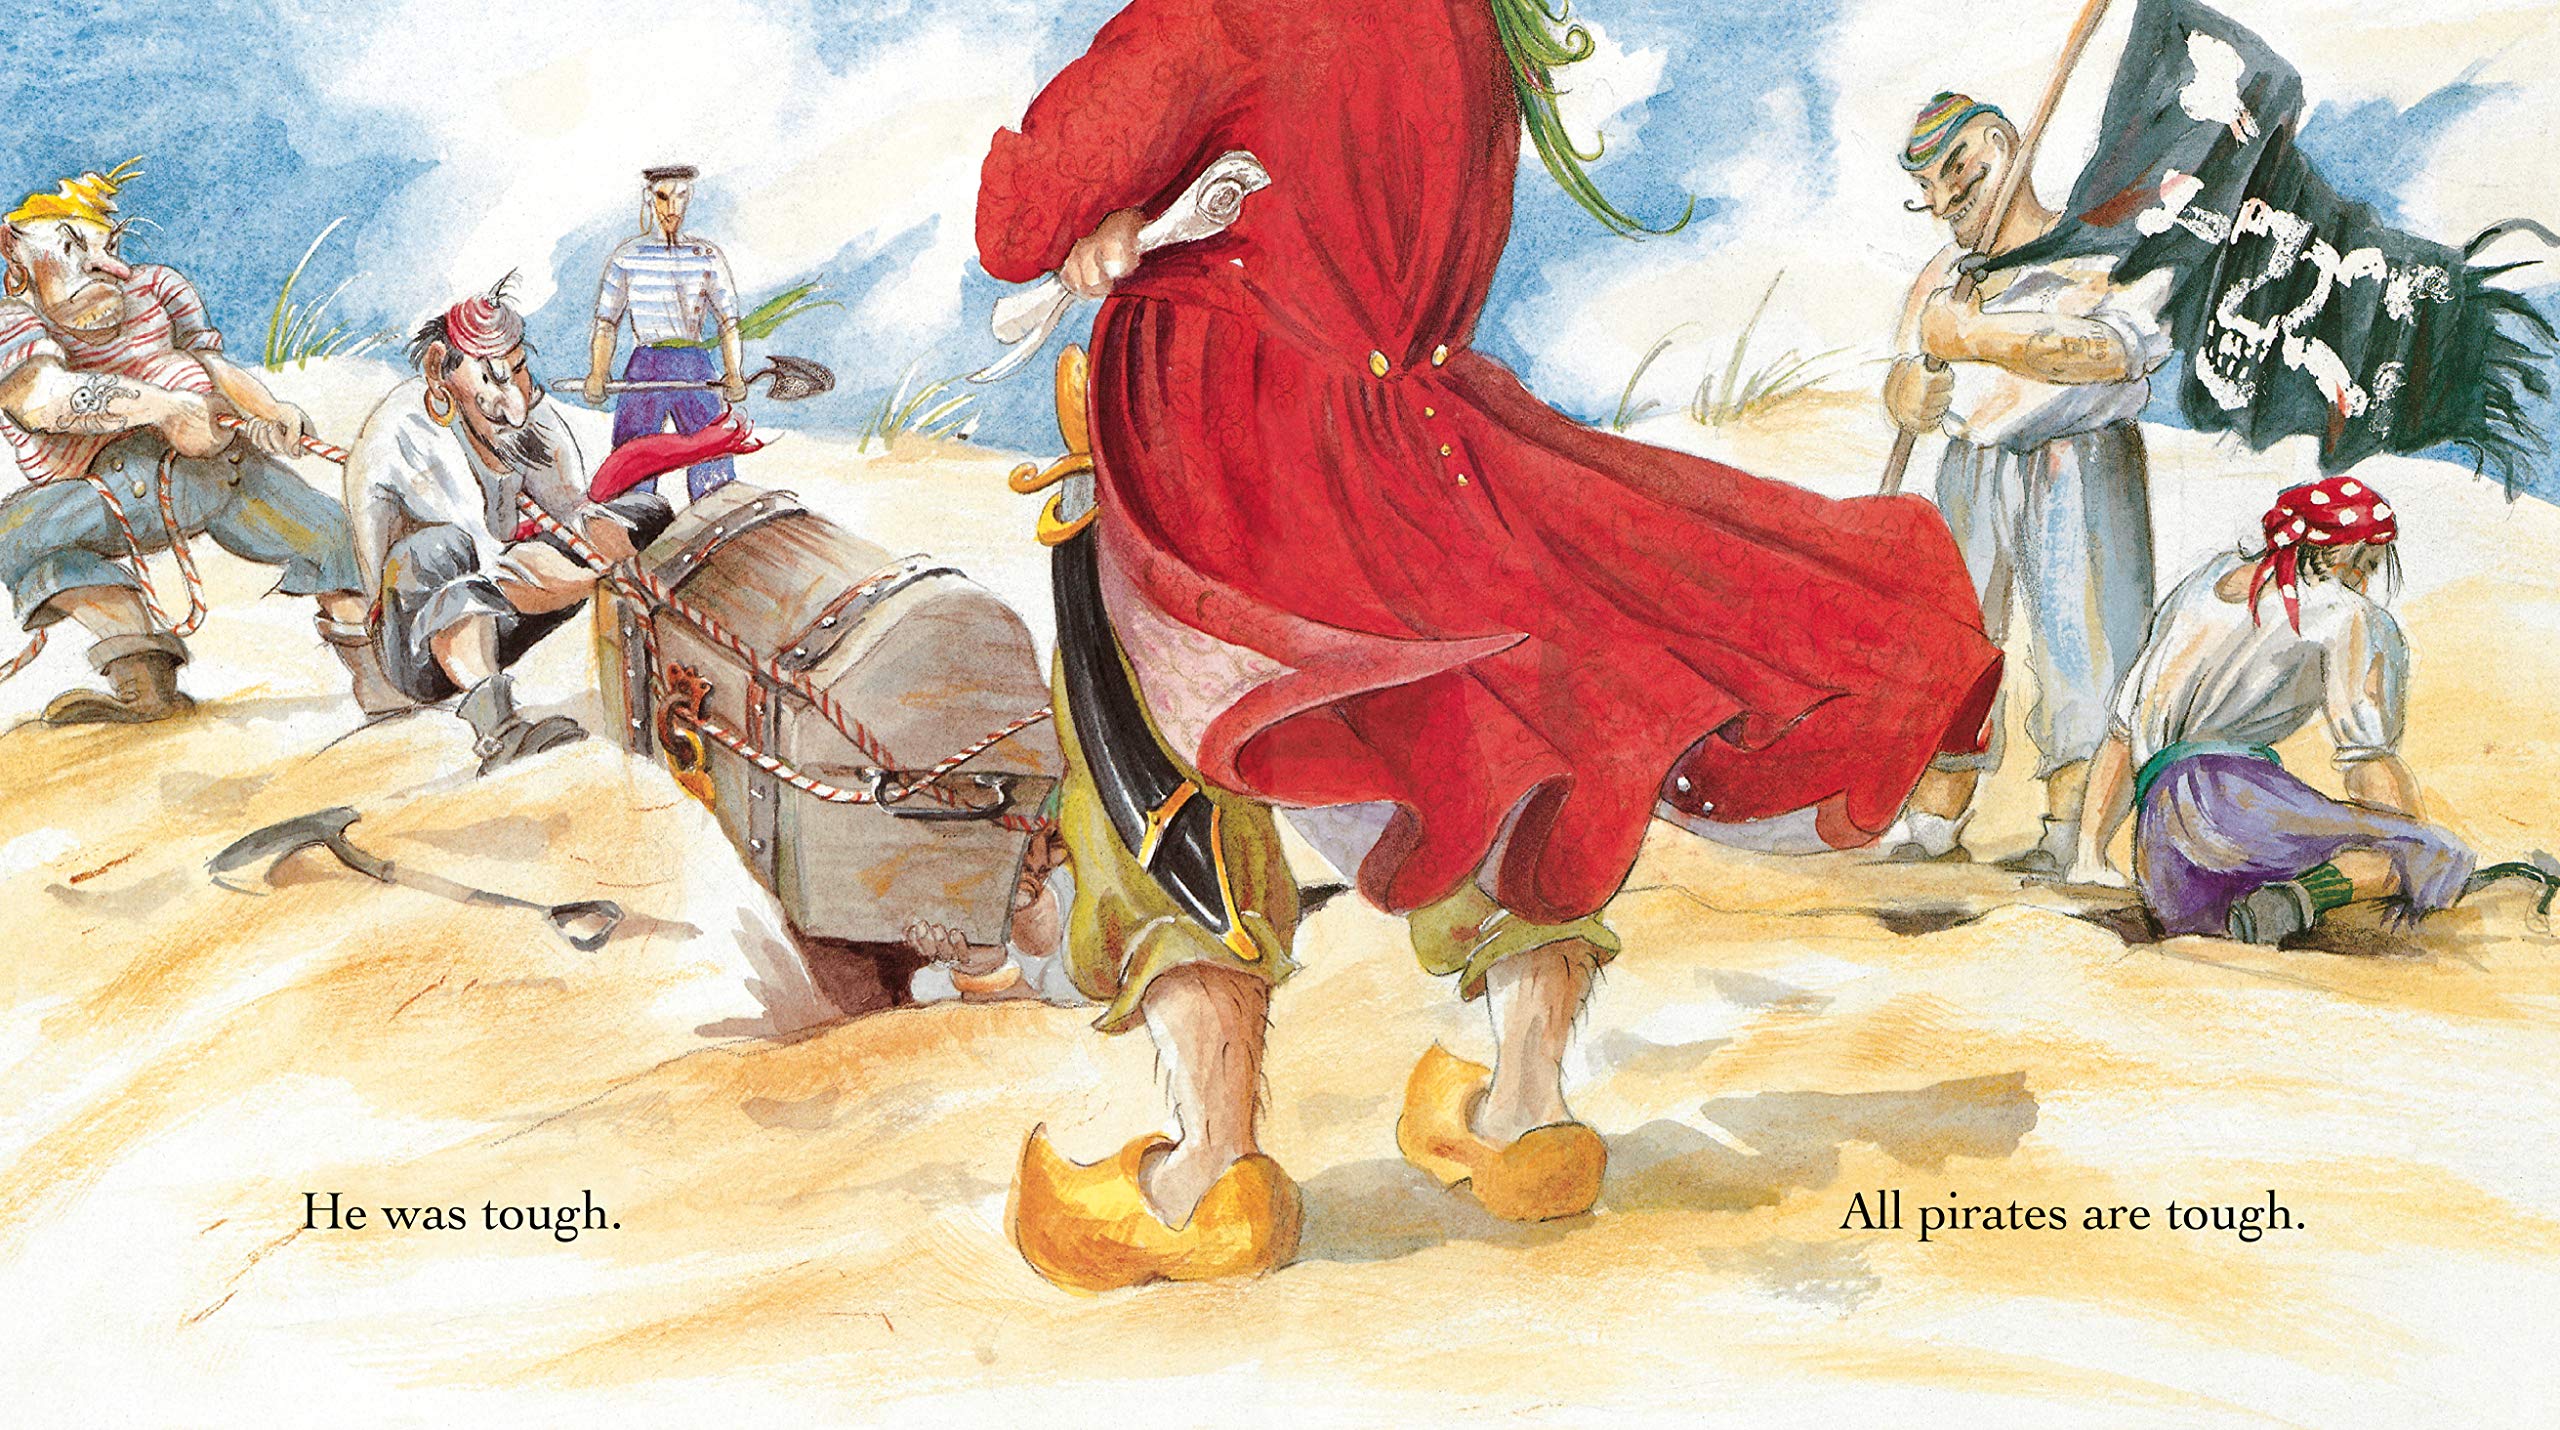
A picture book is a book written for children that uses a combination of words and illustrations to convey a story. Pause here for a second because this is an important point. The words tell PART of the story. The illustrations tell PART of the story. As a result, a picture book relies on these pieces working together. One more time (for the kids in the back), the story is incomplete if one of those two components is missing.
Oftentimes picture books are confused with storybooks, which are children's books that may or may not be illustrated. A great way to tell the difference:
If the illustration just shows scenes described in the text, it is a storybook. However, if the illustration goes beyond the text to tell more of the story, it is a picture book. Head to the bookstore, and you'll find that the vast majority of current titles are, in fact, picture books.
Word Count
Today's picture book market is very different than it was a couple decades ago. Recently, I grabbed a few classically popular books of old and some of the “new classics” to compare. The chart below presents a snapshot of how word count has shifted over time.
To clarify, this is by no means a scientific study. There are outliers in every direction, but this reflects the general industry trend.
 Today, the general rule of thumb is that a fiction picture book manuscript should be fewer than 500 words. This is not a hard-and-fast rule, but it is a good guideline to follow. The key to making an excellent picture book is making every word count. So, if you're way over on word count, that's a signal that you haven't done your homework, you haven't revised, or you haven't given the illustrations anything to carry.
However, there is an exception: nonfiction picture books. These books tend to carry more meat in the text and can crest up to 1,000 – 1,500 words. Despite this, it is important to note that every word counts here as well. Each story, regardless of genre, should carefully evaluate each word.
Formatting
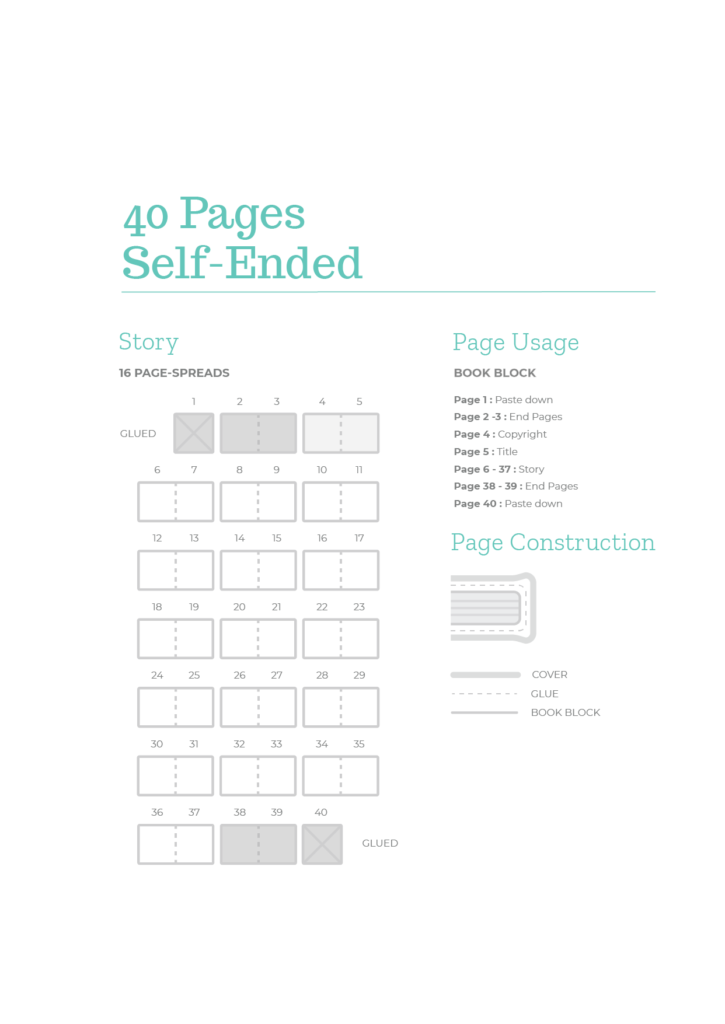
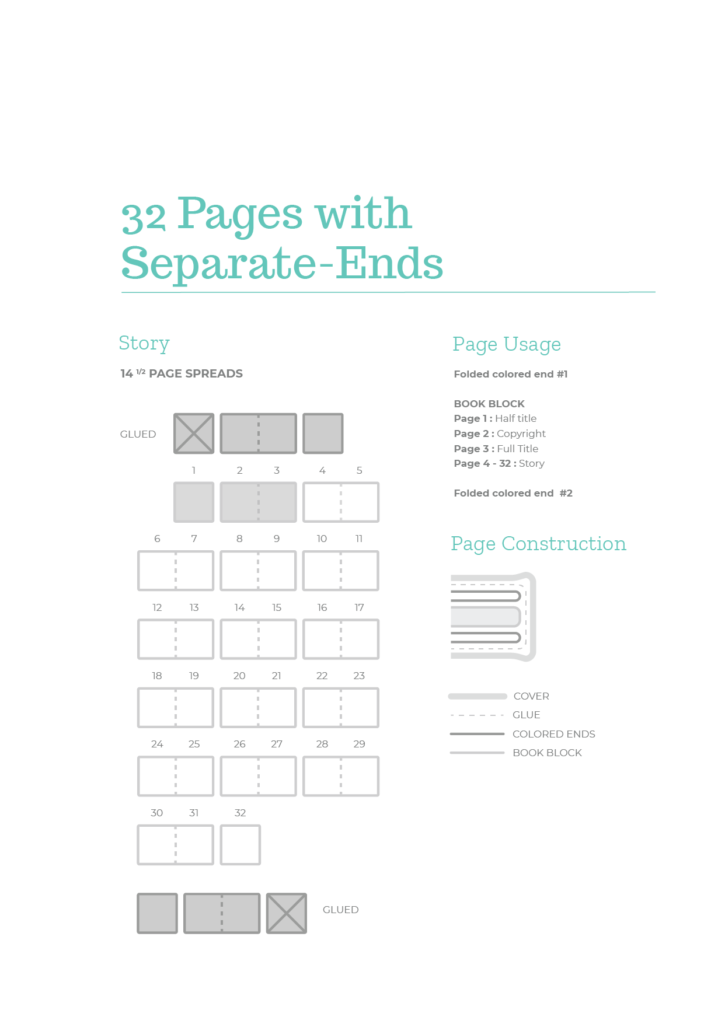
Picture books have printing constraints. Consequently, this means that 99.99% of the time they have 32 pages or 40 pages. However, that doesn't mean you get 32 pages to tell your story! For instance, these pages also include your end pages, your title page, etc.
Additionally (to complicate things a little bit more), there are two different ways a picture book can be structured: Self-ended or Separate-ended. In fact you can read all the gory details about the differences between self-ended and separate-ended picture books here, but the important thing to note when you're getting started is how many pages you have to tell your story.
Use these handy templates as a guide.


If you're reading this post, you might already have an idea for a book. But if you don't, check out our post on How to Generate New Picture Book Ideas, where we share fun activities you can use to swipe an idea out of thin air.
After that, take your idea and ask yourself the following questions:
First, is it relatable to kids?
If you're writing a picture book you want to make sure you're addressing topics that a child would be able to relate to. That does NOT mean you can't tackle something like . . . chemistry . . . but it does mean that you need to pinpoint what about that topic IS relatable to kids (i.e. explosions!).
Second, am I trying to teach something?
 This gets a little hairy because we all want kids books to have a purpose. But kids don't want a sermon or a lesson. They want a fun story. Because of that, your idea might need a simple shift of mindset. Let's say your idea is:
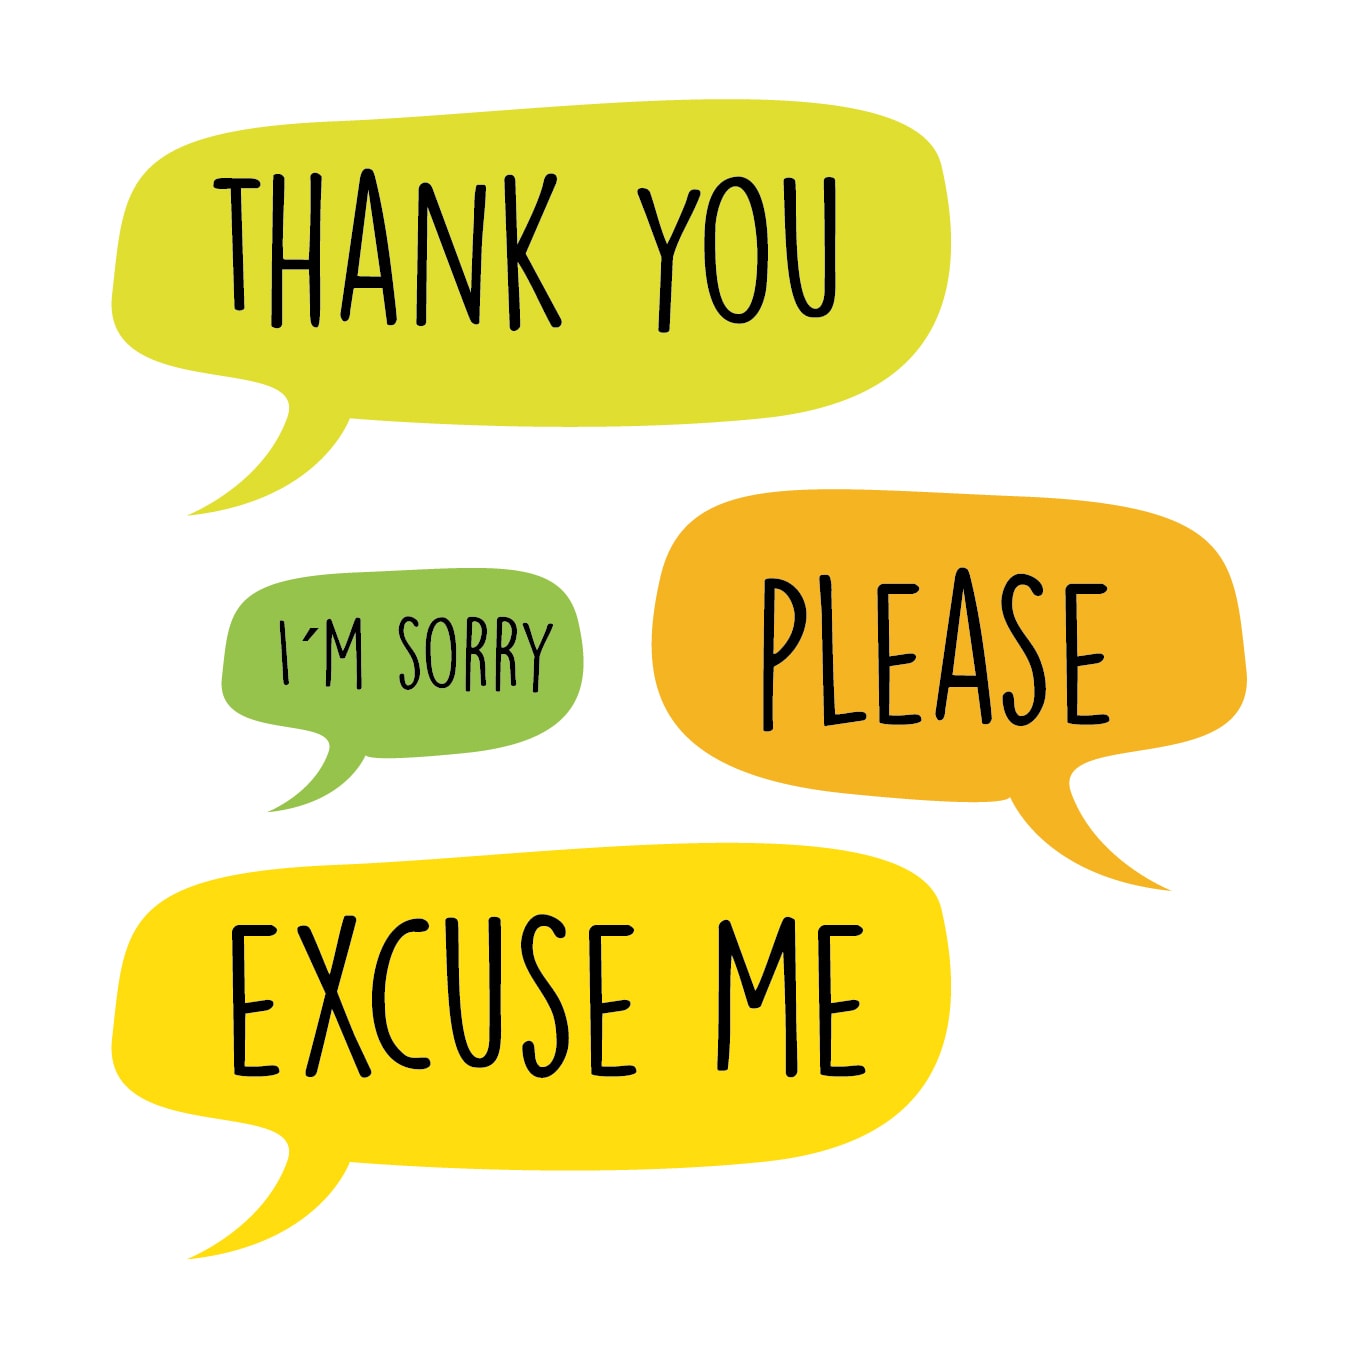
A book to teach kids manners.
If we asked a bunch of kids, “Hey guys! Who here wants to read a book about manners?” we would hear crickets. Consequently, you'll want to ask yourself, how can I take this “teaching concept” and turn it into a rock-solid idea?
One way, is to flip your idea into something that subtly coveys your message.
A book where the main character has the word “please” erased from her vocabulary.
Both of these ideas could impart the same underlying message of the importance of manners, but the first idea is going to lean toward a didactic (lesson-teaching) story. More importantly, it's going to be hard to make it feel emotionally true to a child's point of view. Kids are smart, and they'll see right through an attempt to lecture them.
A New Perspective
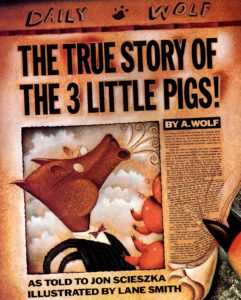
One way to breath new life into an idea is telling it from a different perspective. For instance, everyone knows the story of The Three Little Pigs, but when Jon Scieszka and Lane Smith retold that tale from the wolf's perspective in The True Story of the Three Little Pigs, it was completely different!
Also, your perspective as the author can reignite an idea. For instance, maybe you are from an underrepresented community or have an alternative viewpoint to those that have been depicted previously. Tell the story only you can tell.
There are a thousand and one ways to add a twist to a story. First, take your idea and poke at it. After that, ask yourself all the “what ifs” to see how you can stretch your narrative. Let's consider an example:
The Idea: A little kid loses his stuffed animal.
Whew, has this idea been done. (Your research should have turned up Corduroy and Knuffle Bunny at the very least!) Before you begin, ask yourself some questions. What if the stuffed animal . . .
. . . wasn't recovered?
. . . was magical?
. . . disappeared on purpose?
. . . traveled through time?
Then, when you get those creative juices flowing, who knows where your story can go? Just add some twist. Specifically, try tapping into your own childhood—or your own interests—to set your book apart from what has already been done.
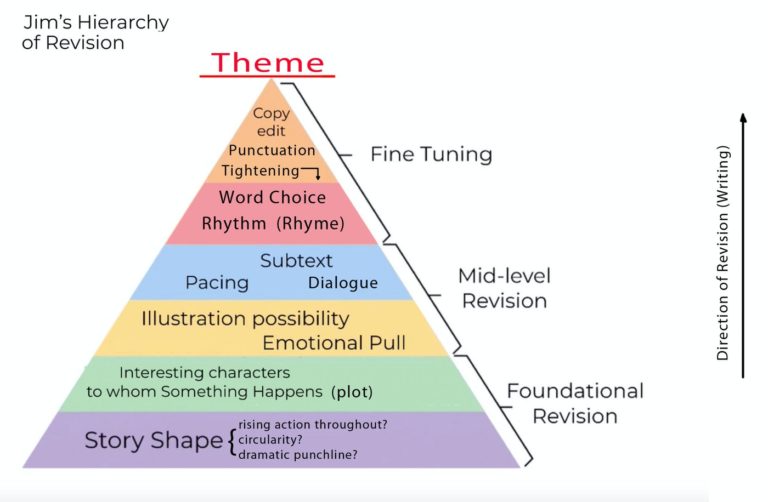
PAUSE: Let's be clear. Revision in and of itself is an art form. In fact, we have many lessons devoted to applying Jim's Hierarchy of Revision, so this is not something that can be covered in one article, but consider this a “cliff's notes” on revision to nudge you in the right direction.
Foundational Revision
At this level you're going to address the big picture changes. On the whole, you need to make sure your story works structurally before you start fussing about where to put commas. Ask yourself these questions:
- What is the shape of my story, and does it work with this theme?
- Does my story have a problem?
- Does it have a clear beginning, middle, and end?
- What obstacles does my main character encounter?
- Does the end leave you emotionally satisfied?
- Is the character interesting?
Mid-Level Revision
After you've got a solid foundation, you will dig into the next level to take a look at things like pacing, subtext, illustration opportunities, and emotional pull.
Pacing
First, take a look at the pace of your story. Pacing is the speed at which your story progresses. Most importantly, ask yourself these questions:
- Am I giving the right amount of time to my beginning, middle, and end?
- Does my sentence structure match the mood I want to convey?
- Do I use page turns and punctuation to control the pace where appropriate?

Subtext
Second, explore your stories subtext. Subtext is what is what is NOT being said. In picture books especially, words and illustrations can contradict each other to build suspense or humor. This can be perfectly explained with an example from Jon Klassen's book, This is Not My Hat.
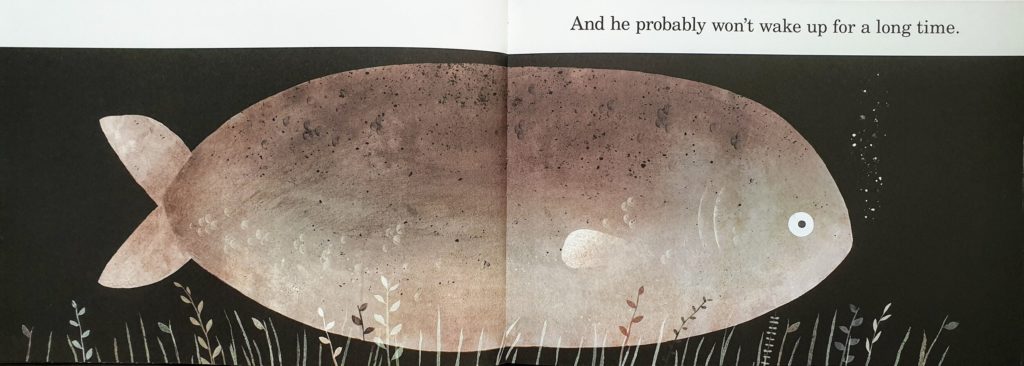
Illustration Opportunities
Third, illustration opportunities! Illustration opportunities are all the things that your text doesn't need to say because the illustrator will show them. Take this for example:
The big brown bear stepped onto the winding path. He couldn't see where the path led, and he felt nervous.
When you evaluate this, you can strike out many words. For instance, this text could become:
Bear took a single, tiny step.
Of course, what the bear and the path look like will all be in the illustrations, just as his face will showcase his emotions. Therefore, anything that you NEED conveyed in the illustrations should be added as an illustration note.
Bear took a single, tiny step.
[Illus. Note: Onto a scary wooded path.]
Emotional Pull
To underscore everything else, look at how you're creating emotional pull. A well developed character-driven story will contain both an internal journey and an external journey. Just as the internal journey is measured by emotions, the external journey can be measured by actions. Therefore, your emotional pull is how these two elements work together to drive both journeys toward a satisfying resolution.
 Did you think it would be easy? Come on. You can admit it. In fact, most people have that misconception before they really sit down to do the work.
But don't be discouraged!
Remember when you first starting reading this article, and you were imagining that family on the couch, reading together? Go back to that thought.
When you have that image secured in your mind, it is easy to see why we do this. We make stories for our most important audience. The kids. It's not easy to get there but. . .
It's worth it.